Giving back to Raivo OTP
I use a lot of free and open-source software—like MarkText, which I’m using to write this article—and I deeply appreciate the effort developers put into these passion projects. Most of the programs I use already do everything I need, so I haven’t had a chance to contribute code back to any of them. But that changed recently when I found the perfect feature to add to Raivo OTP!
⚠️ Important 2024 update: don’t use Raivo! ⚠️
Since the time of this writing, Raivo OTP has unfortunately been sold by its creator. This was not taken well by most users, but I tried to stay optimistic. It eventually auto-updated and deleted all my keys without warning. Thank goodness I had them backed up on my computer.
Based on the issues suddenly pouring into the Raivo GitHub, I was not the only user effected. Users whose data was stored on the cloud had their keys held ransom, while those who didn’t use that feature had their keys outright deleted. The issues tab was hidden from public view shortly afterwards. Further discussion and screenshots: Raivo OTP just deleted all tokens after update and is now asking for money | Hacker News
For anyone who stumbles upon this post in 2024, 2FAS is what I use and recommend now. Farewell, Raivo OTP.
Original article preserved below.
What is Raivo OTP?
OTP is a form of two-factor authentication. It’s an extra layer of security for your online accounts, so that in order to successfully log in, you need both your password, and access to an OTP app such as Google Authenticator.

QR codes are commonly used for quickly adding 2FA keys into an authenticator app.
I used Microsoft Authenticator for the longest time, but I worried about what would happen in a worst case scenario where I lost my phone and couldn’t get into my Microsoft account to recover my keys. Most authenticator apps lock you in and you can only access your OTPs through the cloud, meaning no local backups, and no transferring out. This concerned me.
So I did my research and eventually found Raivo, which offers both cloud and local storage. It is also a passion project maintained by a cyber security specialist, and is open source. I decided to try it out, and I loved it!
Adding the feature I wanted
Raivo supports exporting your 2FA keys to a password-protected ZIP archive, which is exactly what I was looking for. This way, they can always be moved to another authenticator program if needed. Being able to back them up in this way eased my mind about what I would do about my keys in a worst case scenario.
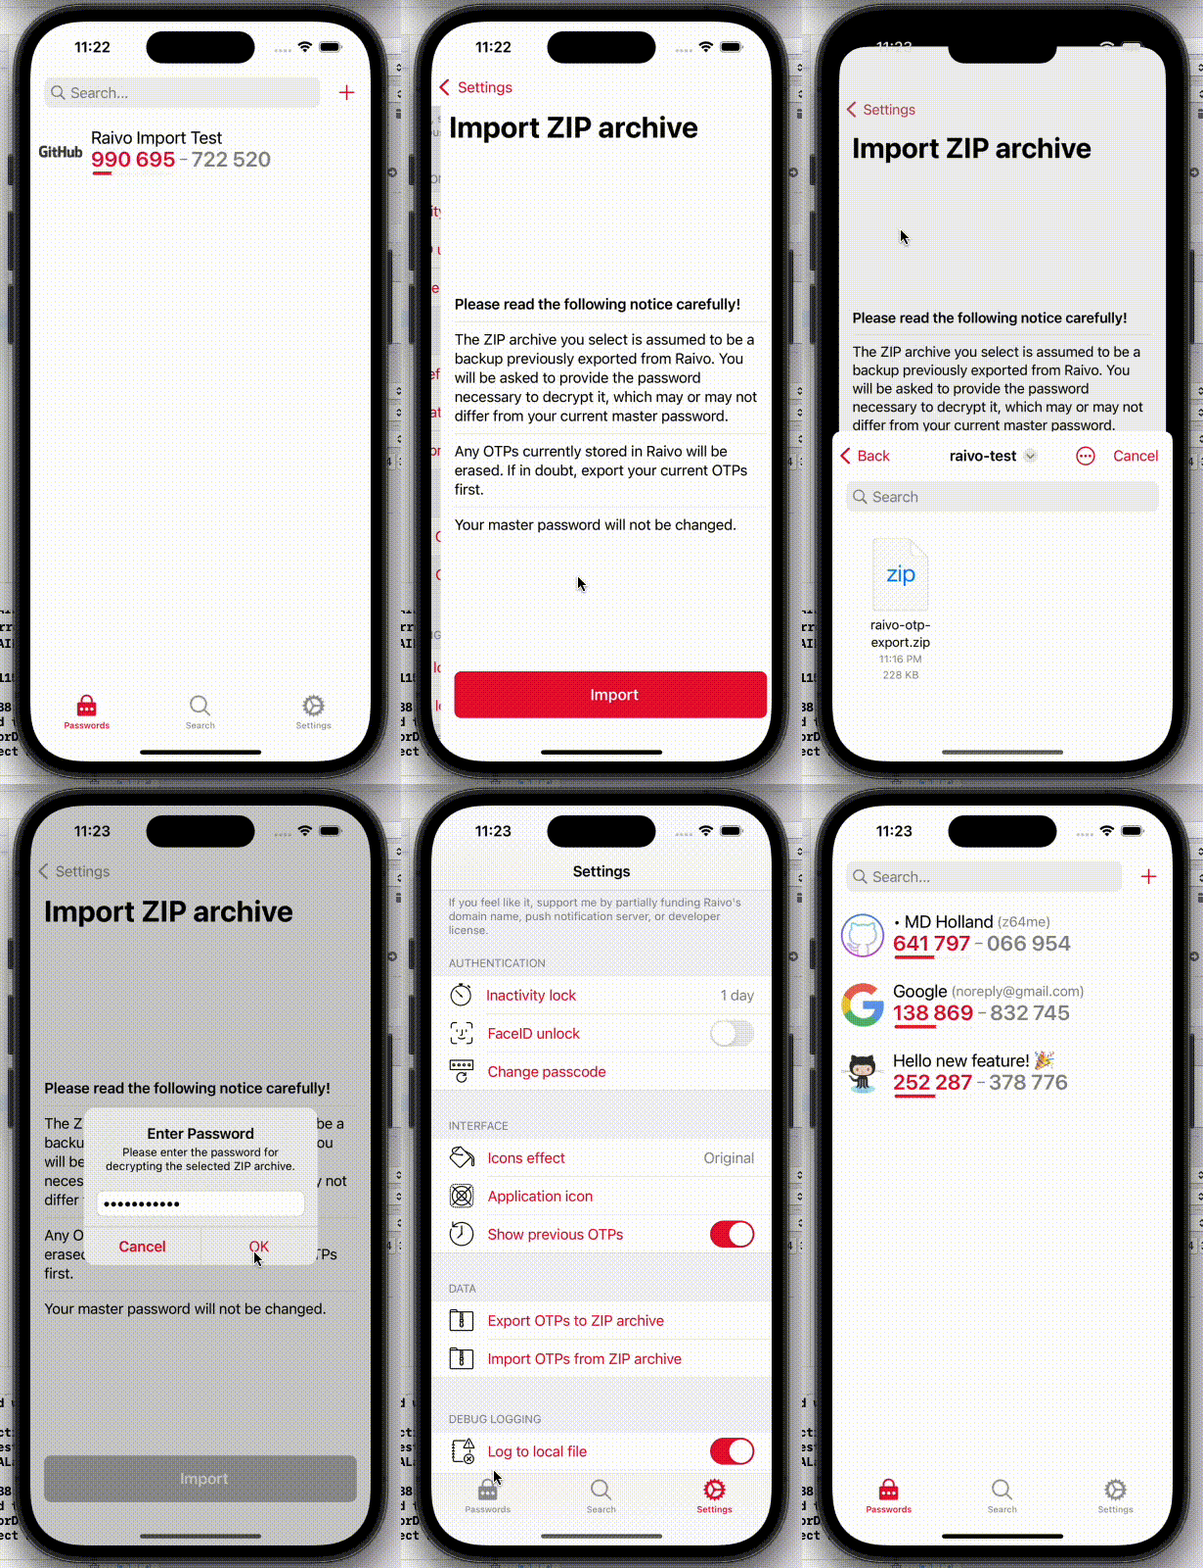
Raivo did not, however, support reimporting keys. The first GitHub issue requesting this feature was opened in 2020, and it was the most requested feature. I instantly knew what I wanted to do over the weekend!
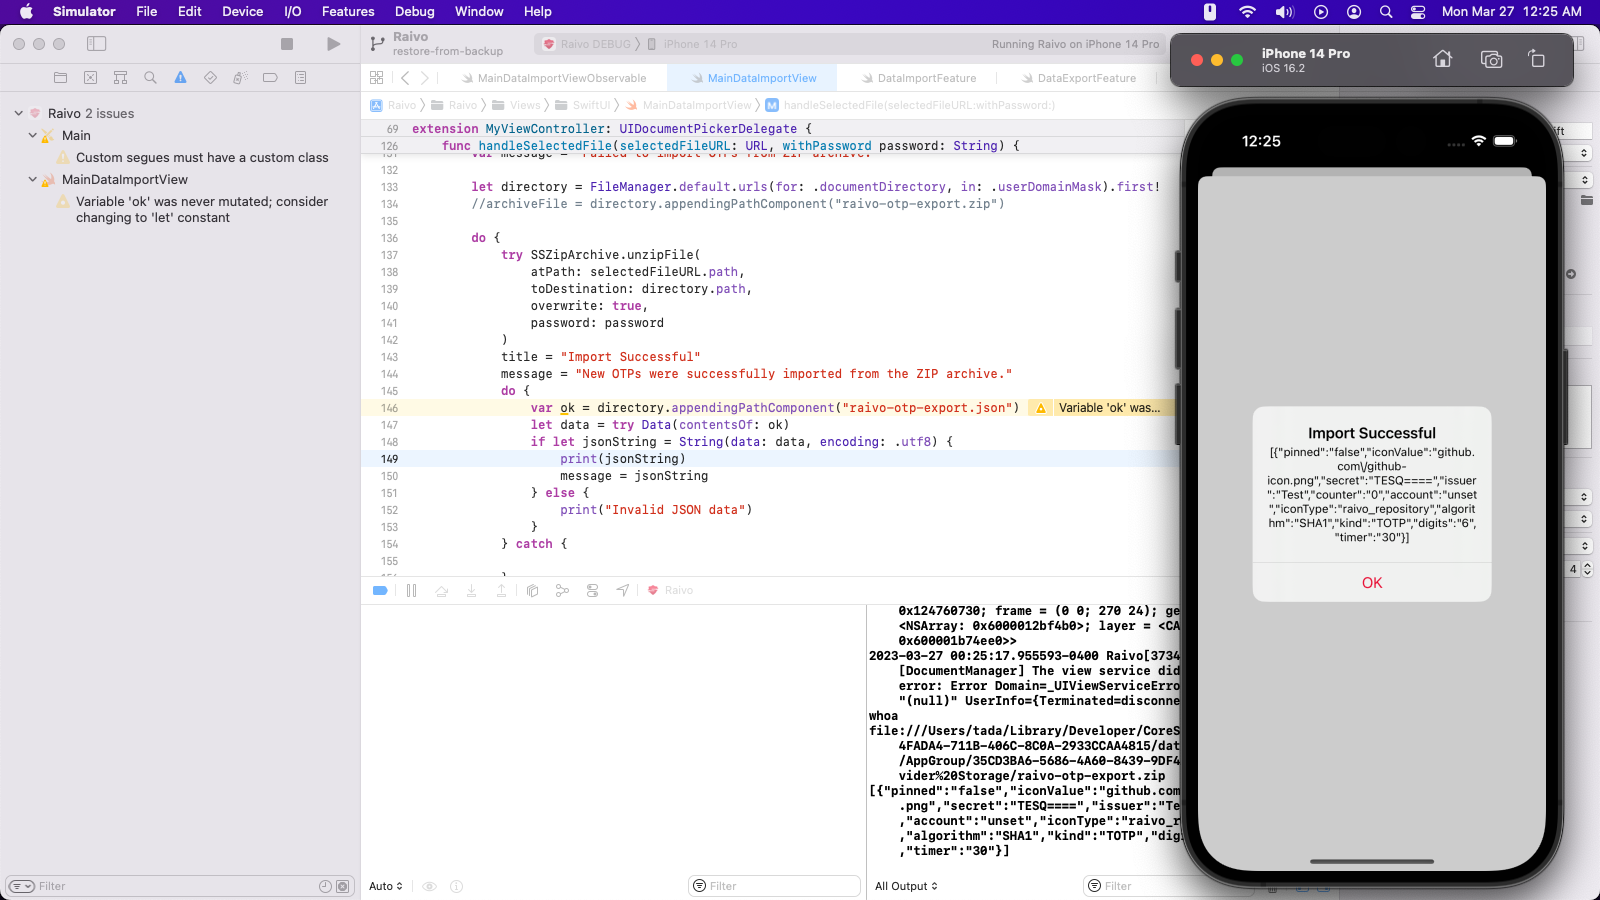
Because it’s an iOS app, development had to take place on macOS. I cloned the repo on my Mac Mini and got it running in the iPhone simulator for Xcode.

There isn’t a lot to be said implementation-wise. I had never written code in Swift before, and this was my first time working on an iOS app, so I spent a lot of time watching YouTube videos and reading documentation, occasionally bumping into the answers I needed. For the most part, I had no clue what I was doing. I just really wanted that feature!
I eventually got it working!


The subsequent pull request
Now that it was ready, I wanted to see if it could be merged into the main branch, so I opened a pull request. You can find that here: Feature: Import OTPs from ZIP archive by z64me · Pull Request #241 · raivo-otp/ios-application · GitHub
Tijme (the maintainer) seemed to be just as excited about it as I was! Raivo hadn’t been updated in months, so I was expecting things to take longer, but he jumped right on it and there was a new update pushed to the App Store in no time! The conversation on the pull request was super productive and delightful as well.

Version 1.4.10: my contribution hits the App Store.
The end
I had always wanted to contribute to an open source app, so this was a big milestone for me. I’m super proud of how it turned out, and wanted to highlight it in a brief blog post. Thanks for reading!