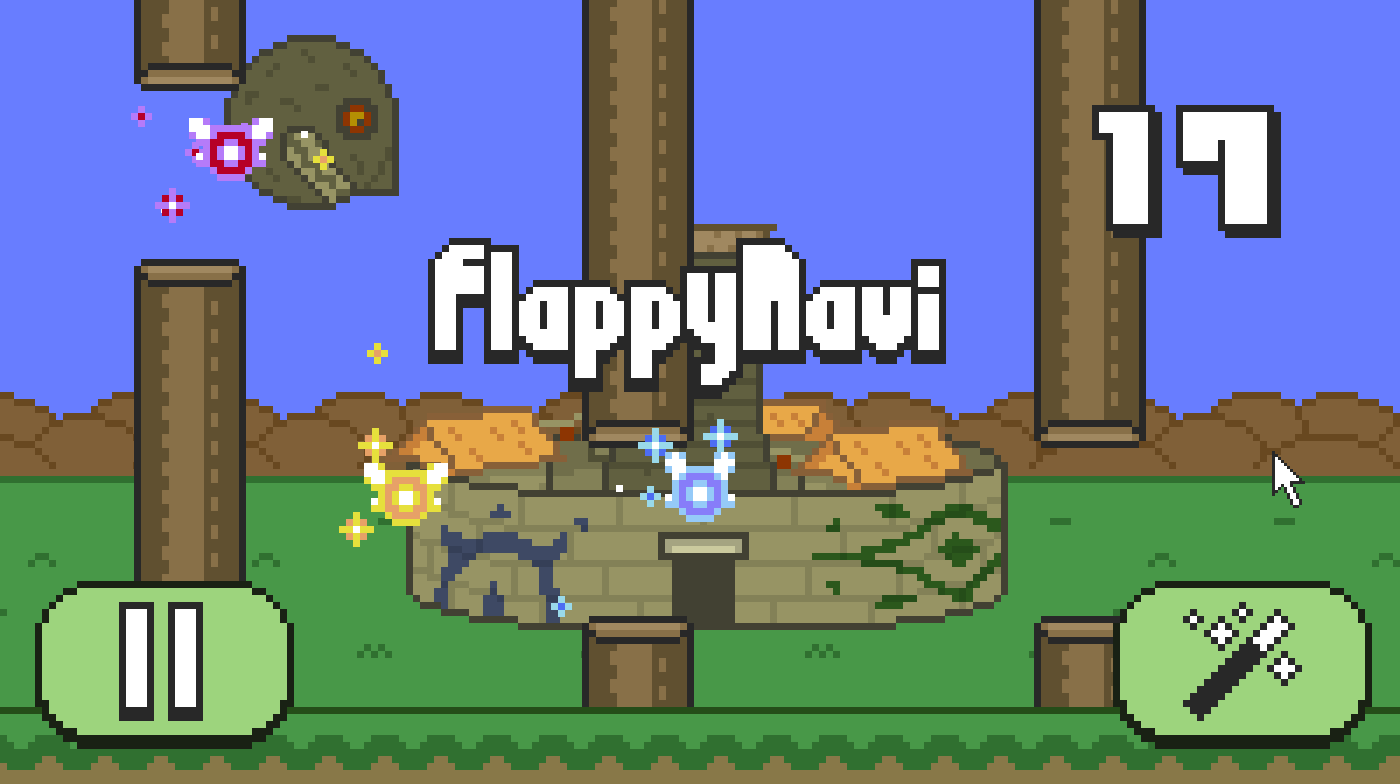
Developing a video game in C: Flappy Navi
I write a lot of software, and last week I decided to spice up my repertoire with something fun: why not a video game? I spent only three days on this one, and I’m very happy with how it turned out. In this article, I describe the steps I took to complete a small game development project: from start to finish.
Planning
Games, being finite-state machines, are best represented using flowcharts. Here’s mine:
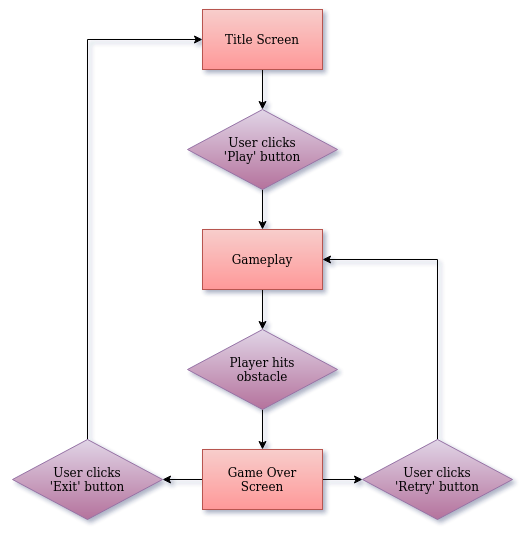
Once I determined a list of game states, I created mockups for each. These reflected how I wanted the game to look, and they helped me establish a working screen resolution so I wouldn’t run into problems later.
| Mockup | Description |
|---|---|
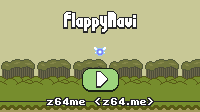 |
Title Screen |
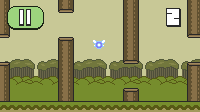 |
Gameplay |
 |
Game Over |
Frame rate independent motion
It’s easy to accidentally write code that works fine on one monitor but malfunctions on another. This is due to differences in monitor refresh rate. There are many solutions to this problem, and Fix your Timestep! by Glenn Fiedler is a great article on the subject.
For this project, I wanted to try something new. I found using real-world time to be more intuitive and lightweight than counting frames. Every entity’s position is calculated based on a pausable timer that tracks how long the game has been running. This automatically works both with and without VSync, and on any monitor with any refresh rate.
Player

The player is nothing more than a center-screen rectangle that is influenced by gravity. Because all movement is based on real-world time, I can conveniently use this parabolic motion formula for the physics:
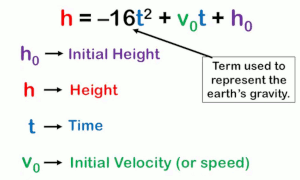
And here it is expressed as a simple C function:
/* a snippet from FlappyNavi/src/player.c */

/* player movement is accomplished using a simple quadratic equation;
 * this solution keeps the game framerate-independent without having
 * to introduce frame step logic
 * https://www.slideshare.net/snewgas/applications-of-the-vertex-formula-edit-8191421
 */
static float ParabolaMotion(struct Parabola p, uint32_t milliseconds)
{
   float seconds;

   seconds = milliseconds * 0.001f;

   return PLAYER_GRV * pow(seconds, 2) + PLAYER_YVEL * seconds + p.y;
}
Obstacles
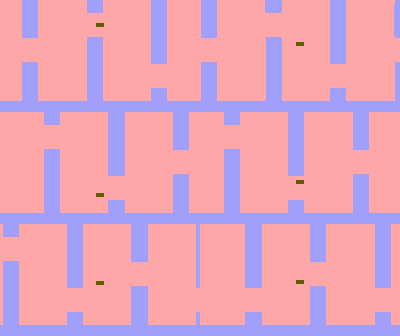
It may appear that the player is moving through the world, but it’s actually the other way around. Indeed, the world is moving around the player! At a regular interval, a new obstacle is created just outside the viewing area, to the right. Then, it moves at a constant speed until it runs off the left edge of the screen. This creates the illusion of the player moving forward continuously.
The openings the player must fly through come in three varieties: low, medium, and high. They are selected at random, but I also factor in earlier values to help reduce repetition.
Collision detection
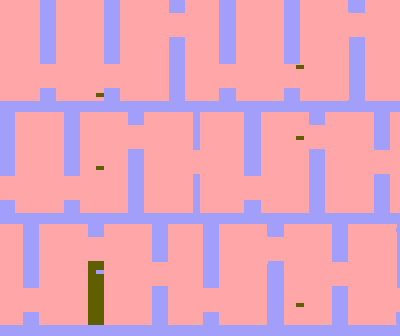
Collision programming is a great opportunity to be creative because it’s one of those problems that everyone seems to solve differently.
My implementation involves three steps:
- Initialize a collider arena.
- Add colliders to it.
- Process it.
I handled collision responses by giving colliders optional callbacks that they execute when they overlap with other colliders. Using callbacks this way makes signaling a “game over” condition incredibly easy. This is one of my favorite features.
Graphics
![]()
Now that the score is displayed onscreen, I can stop printing it to the terminal window.
Even for a game of this scope, there can be many graphics, and their dimensions can vary by a lot. I wanted a way to optimally pack a bunch of sprites into one sprite sheet without having to keep track of their dimensions or exact pixel coordinates.
Here is the mini specification I came up with for what I call “packed sprite sheets”:
- Sprite sheets are processed from top to bottom, left to right.
- Control pixels along the leftmost column are used to identify rows of control pixels.
- Rows of control pixels are used to specify the upper left corner of each sprite beneath the row.
- This happens at runtime, so I can tweak sprites as needed without having to change code.
This, too, can be illustrated using a flowchart:
![]()
If you color-code it based on the control pixels, you get this:
![]()
To display a sprite in the game window, you only need its row/column indices:
/* a snippet from FlappyNavi/src/ui.c */

int winCenterX = WINDOW_W / 2;

/* logo */
SpritesheetDrawCentered(game, game->ui, 0, 0, winCenterX, WINDOW_H / 5);

/* author */
SpritesheetDrawCentered(game, game->ui, 2, 0, winCenterX, WINDOW_H - 11);
Background
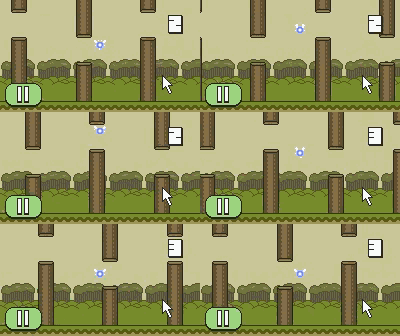
The last thing I added was a static background. The floor is drawn separately and it scrolls along at the same speed as the obstacles, completing the effect I described earlier.
Minimum Viable Product (MVP)
With all game states and visuals implemented, Flappy Navi had reached an important development milestone: the MVP. It was a fully playable game, and everything I added afterwards was icing on the cake.
Themes
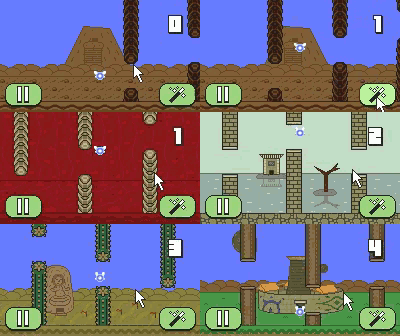
The “Theme” button magically teleports the player to several recognizable locations. This keeps things fresh.
Did you notice that some backgrounds animate?
Particles
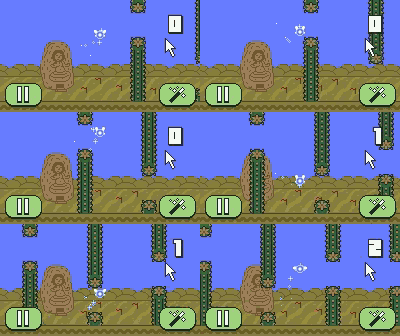
Particle effects make any game more lively. New particles are added to the game world like so:
/* a snippet from FlappyNavi/src/player.c */

/* spawn particles */
if (game->ticks - fairy->particleTime >= PLAYER_PARTFREQ)
{
   fairy->particleTime = game->ticks;

   y += FlappyRand(game) % 16;
   x += FlappyRand(game) % 16;
   ParticlePush(game, fairy->particle, x, y);
}
A linked list is used to keep track of every particle. A particle expires once it finishes playing its animation.
Player “ghosts”
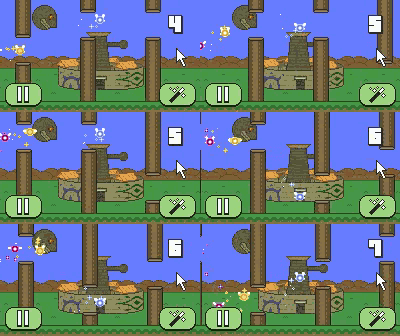
I thought it would be cute if Navi had some friends. This feature takes advantage of the fact that player movement is accomplished by chaining quadratic equations together. Deriving earlier player positions is as simple as keeping an array of recently-used equations and querying it.
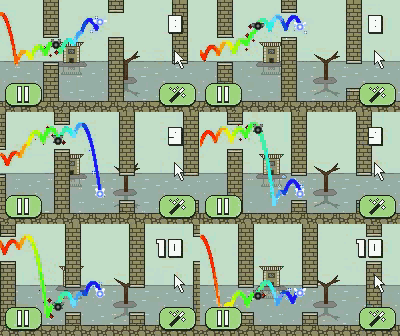
This debugging feature uses that array to display the path traveled.
Navi’s friends appear only on certain themes. Can you find them?
A stage hazard
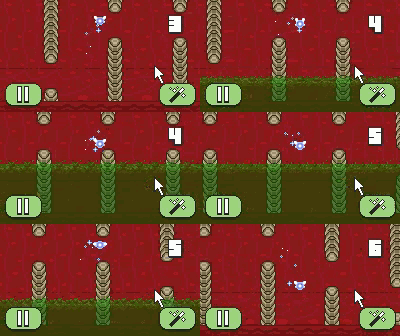
In the belly of the fish, easing functions are used to raise and lower gastric juices that try to digest the player. This hazard is pretty easy to avoid, but it’s a fun gimmick nonetheless.
The virtual filesystem
There’s nothing quite like distributing a piece of software as a tiny self-contained executable. Because all the asset loading is routed through a single function, this goal seemed feasible, so I decided to give it a try.
When the compiler flag -DFLAPPY_STATIC_BUILD is specified, a rudimentary virtual filesystem is embedded into the application like so:
/* a snippet from FlappyNavi/src/file.c */

#include "incbin.h"

struct VirtualFile
{
   const char *fn;
   const void *data;
   const unsigned int *sz;
};

#define VirtualFileDecl(NAME, FN) { \
  FN \
  , INCBIN_CONCATENATE( \
            INCBIN_CONCATENATE(INCBIN_PREFIX, NAME), \
            INCBIN_STYLE_IDENT(DATA)) \
  , &INCBIN_CONCATENATE( \
            INCBIN_CONCATENATE(INCBIN_PREFIX, NAME), \
            INCBIN_STYLE_IDENT(SIZE)) \
}

/* produce symbols for each */
INCBIN(Backgrounds, "gfx/backgrounds.png");
INCBIN(Obstacles, "gfx/obstacles.png");
INCBIN(Particles, "gfx/particles.png");
INCBIN(Sprites, "gfx/sprites.png");
INCBIN(Jabu, "gfx/jabu.png");
INCBIN(Icon, "gfx/icon.png");
INCBIN(Ui, "gfx/ui.png");

/* now reference those symbols in an array for easy lookup */
static const struct VirtualFile Filesystem[] = {
   VirtualFileDecl(Backgrounds, "gfx/backgrounds.png")
   , VirtualFileDecl(Obstacles, "gfx/obstacles.png")
   , VirtualFileDecl(Particles, "gfx/particles.png")
   , VirtualFileDecl(Sprites, "gfx/sprites.png")
   , VirtualFileDecl(Jabu, "gfx/jabu.png")
   , VirtualFileDecl(Icon, "gfx/icon.png")
   , VirtualFileDecl(Ui, "gfx/ui.png")
};
Lastly, I wrote a new function that locates a virtual file by name and returns a copy of its data.
This feature is completely optional, and no changes outside the source file FlappyNavi/src/file.c were necessary.
Thanks for reading
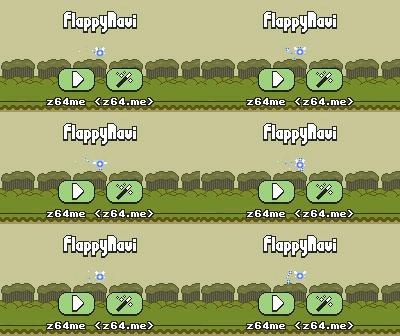
I had a lot of fun working on this. Video games are complex machines, no matter how simple they may seem on the surface.
As always, the full source code is available on GitHub: z64me/FlappyNavi
Attribution
Flappy Navi was made possible by the following open-source libraries:
- Simple DirectMedia Layer
- stb_image
- incbin
- rnd
- And many thanks to Master Yoshi for the awesome Navi sprites!